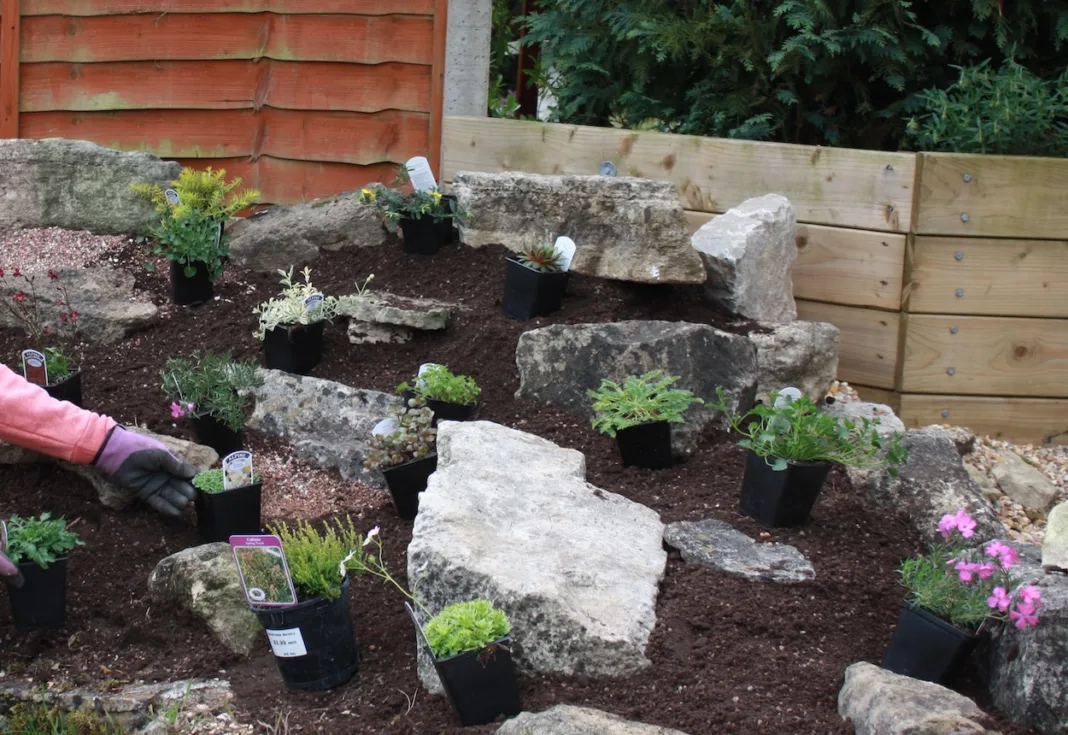
We show you how to create a stunning alpine rockery in an easy to follow step by step.
Build an alpine rockery in 10 easy steps.
Step 1. Lay the foundations
Having cleared and levelled your chosen site, add a layer of bricks or rubble to provide good drainage and start to shape your creation. Cover with old upturned turf to prevent planting soil from falling down into the cracks.
Step 2. Cover the foundations
Firm down the turf and cover with a 6-9in (15-22.5cm) layer of garden soil.
Step 3. Lay the rocks
Spend some time looking at your rock collection, think about how they will sit with each other and place your first stone. Top choices for rockery stone include York stone, Welsh green stone, Cotswold stone and slate stone.
Step 4. Secure the rocks in place
Infill between the stones as they are laid, making sure each is firmly in place. This will likely mean loosening and re-packing soil underneath them as well as in between for stability.
Step 5. Mix your compost
With all stones in place it’s time to add your planting compost. Rockeries need a free draining soil so use equal parts compost and sharp sand or grit. I’m mixing some multipurpose compost with a specialist free-draining mix left over from the greenroof project covered in AG 28 August.
Step 6. Spread the compost
Pile on the compost mix across the rockery, spreading it out and levelling with a rake or by hand as you go. Do not compact the mix.
Step 7. Set out pots ahead of planting
Check your arrangement by setting out all pots before planting. Take eventual height and spread of each plant in to account when setting out.
Step 8. Time to plant
When happy with the display, remove each plant from it’s pot, loosen roots to aid establishment and plant level with the surface, gently firming in.
Step 9. Apply a topdressing
Topdress around the collar of each plant as they are put in the ground. With this done the rest of the surface can be quickly top-dressed with a 1in (2.5cm) layer of grit or gravel. Use a dust pan brush on rocks to tidy up the grit or decorative gravel for a neat finish.
Step 10. Water in plants
With rocks, plants and topdressing in place the hard work is done. Time to water in, stand back and enjoy your creation.


